This article explains how to switch Visual Studio Code to Japanese on macOS, and how to switch it back.
The short answer: open the Command Palette, run “Configure Display Language”, pick Japanese from the list, and restart. You do not need to open the Extensions view or hunt for a language pack — the current version installs it for you.
Checked on Visual Studio Code 1.135.0 on macOS. The steps below also cover the older flow that went through “Install Additional Languages…”, because plenty of guides still describe it that way.
Sponsored
Three steps to switch VS Code to Japanese
Open the Command Palette, run Configure Display Language, then choose Japanese and restart. That is the whole process.
- Open the Command Palette (shift + command + P on macOS)
- Run “Configure Display Language”
- Pick Japanese (ja) from the list, then restart
Visual Studio Code ships in English. Displaying it in Japanese requires the Japanese Language Pack published by Microsoft, extension ID ms-ceintl.vscode-language-pack-ja. In current versions, choosing Japanese in step 3 downloads that pack automatically.
Installing Visual Studio Code on a Mac
Download the zip from the official site, unzip it, and double-click the app. Skip to the next section if VS Code is already installed.
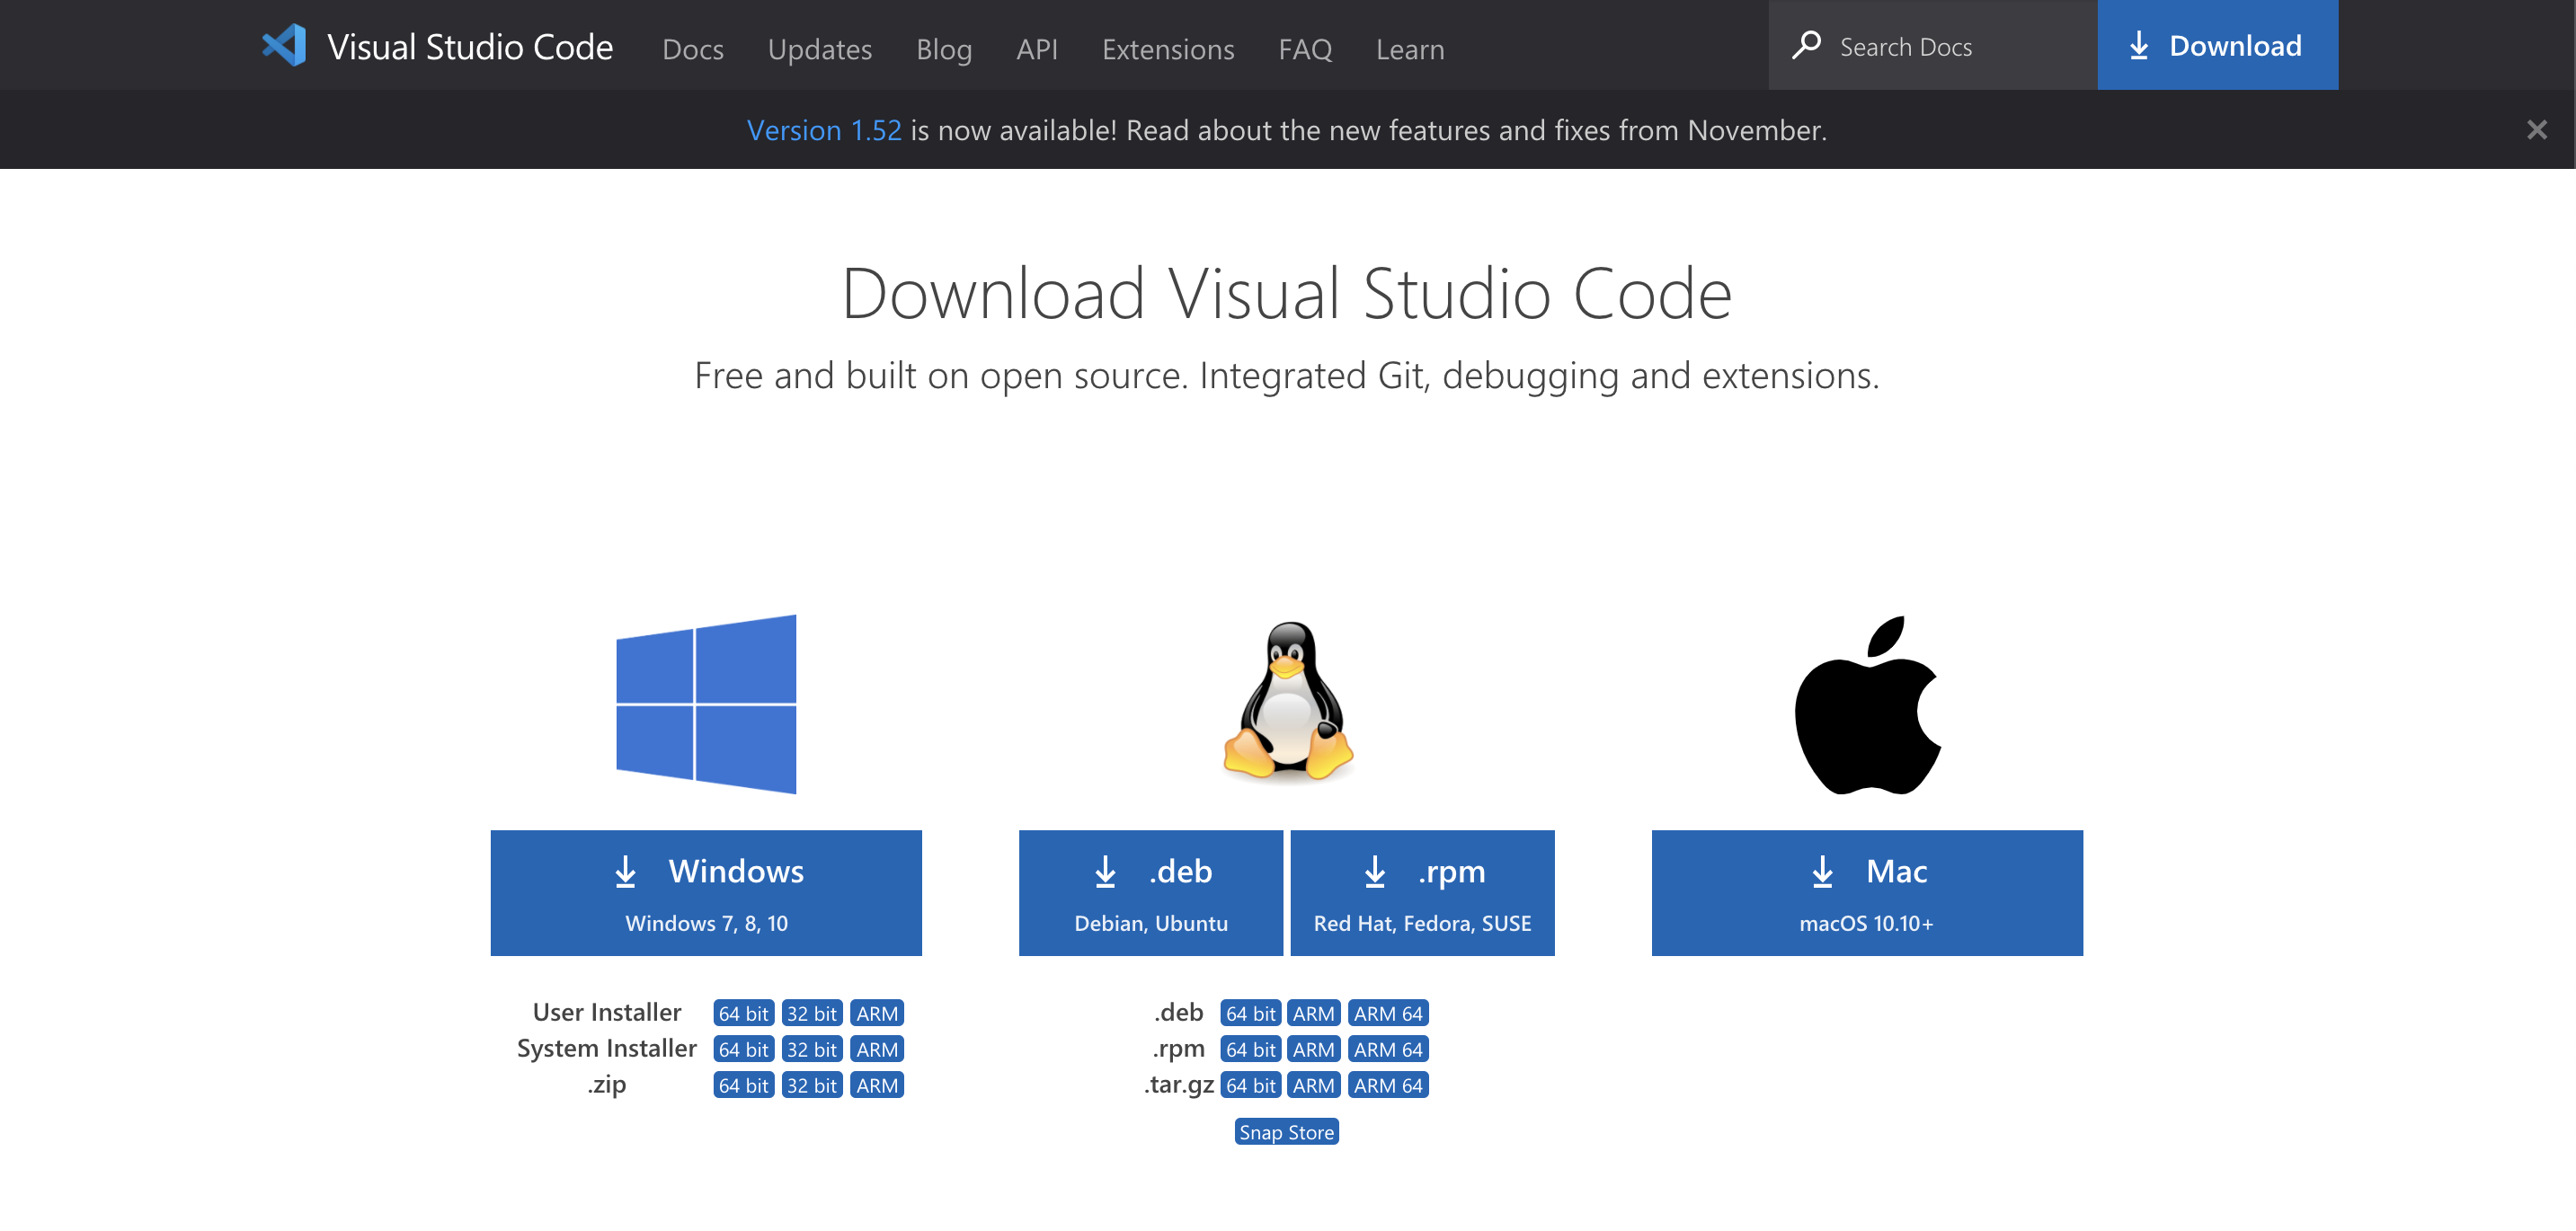
Go to the official download page and pick the installer for your OS.
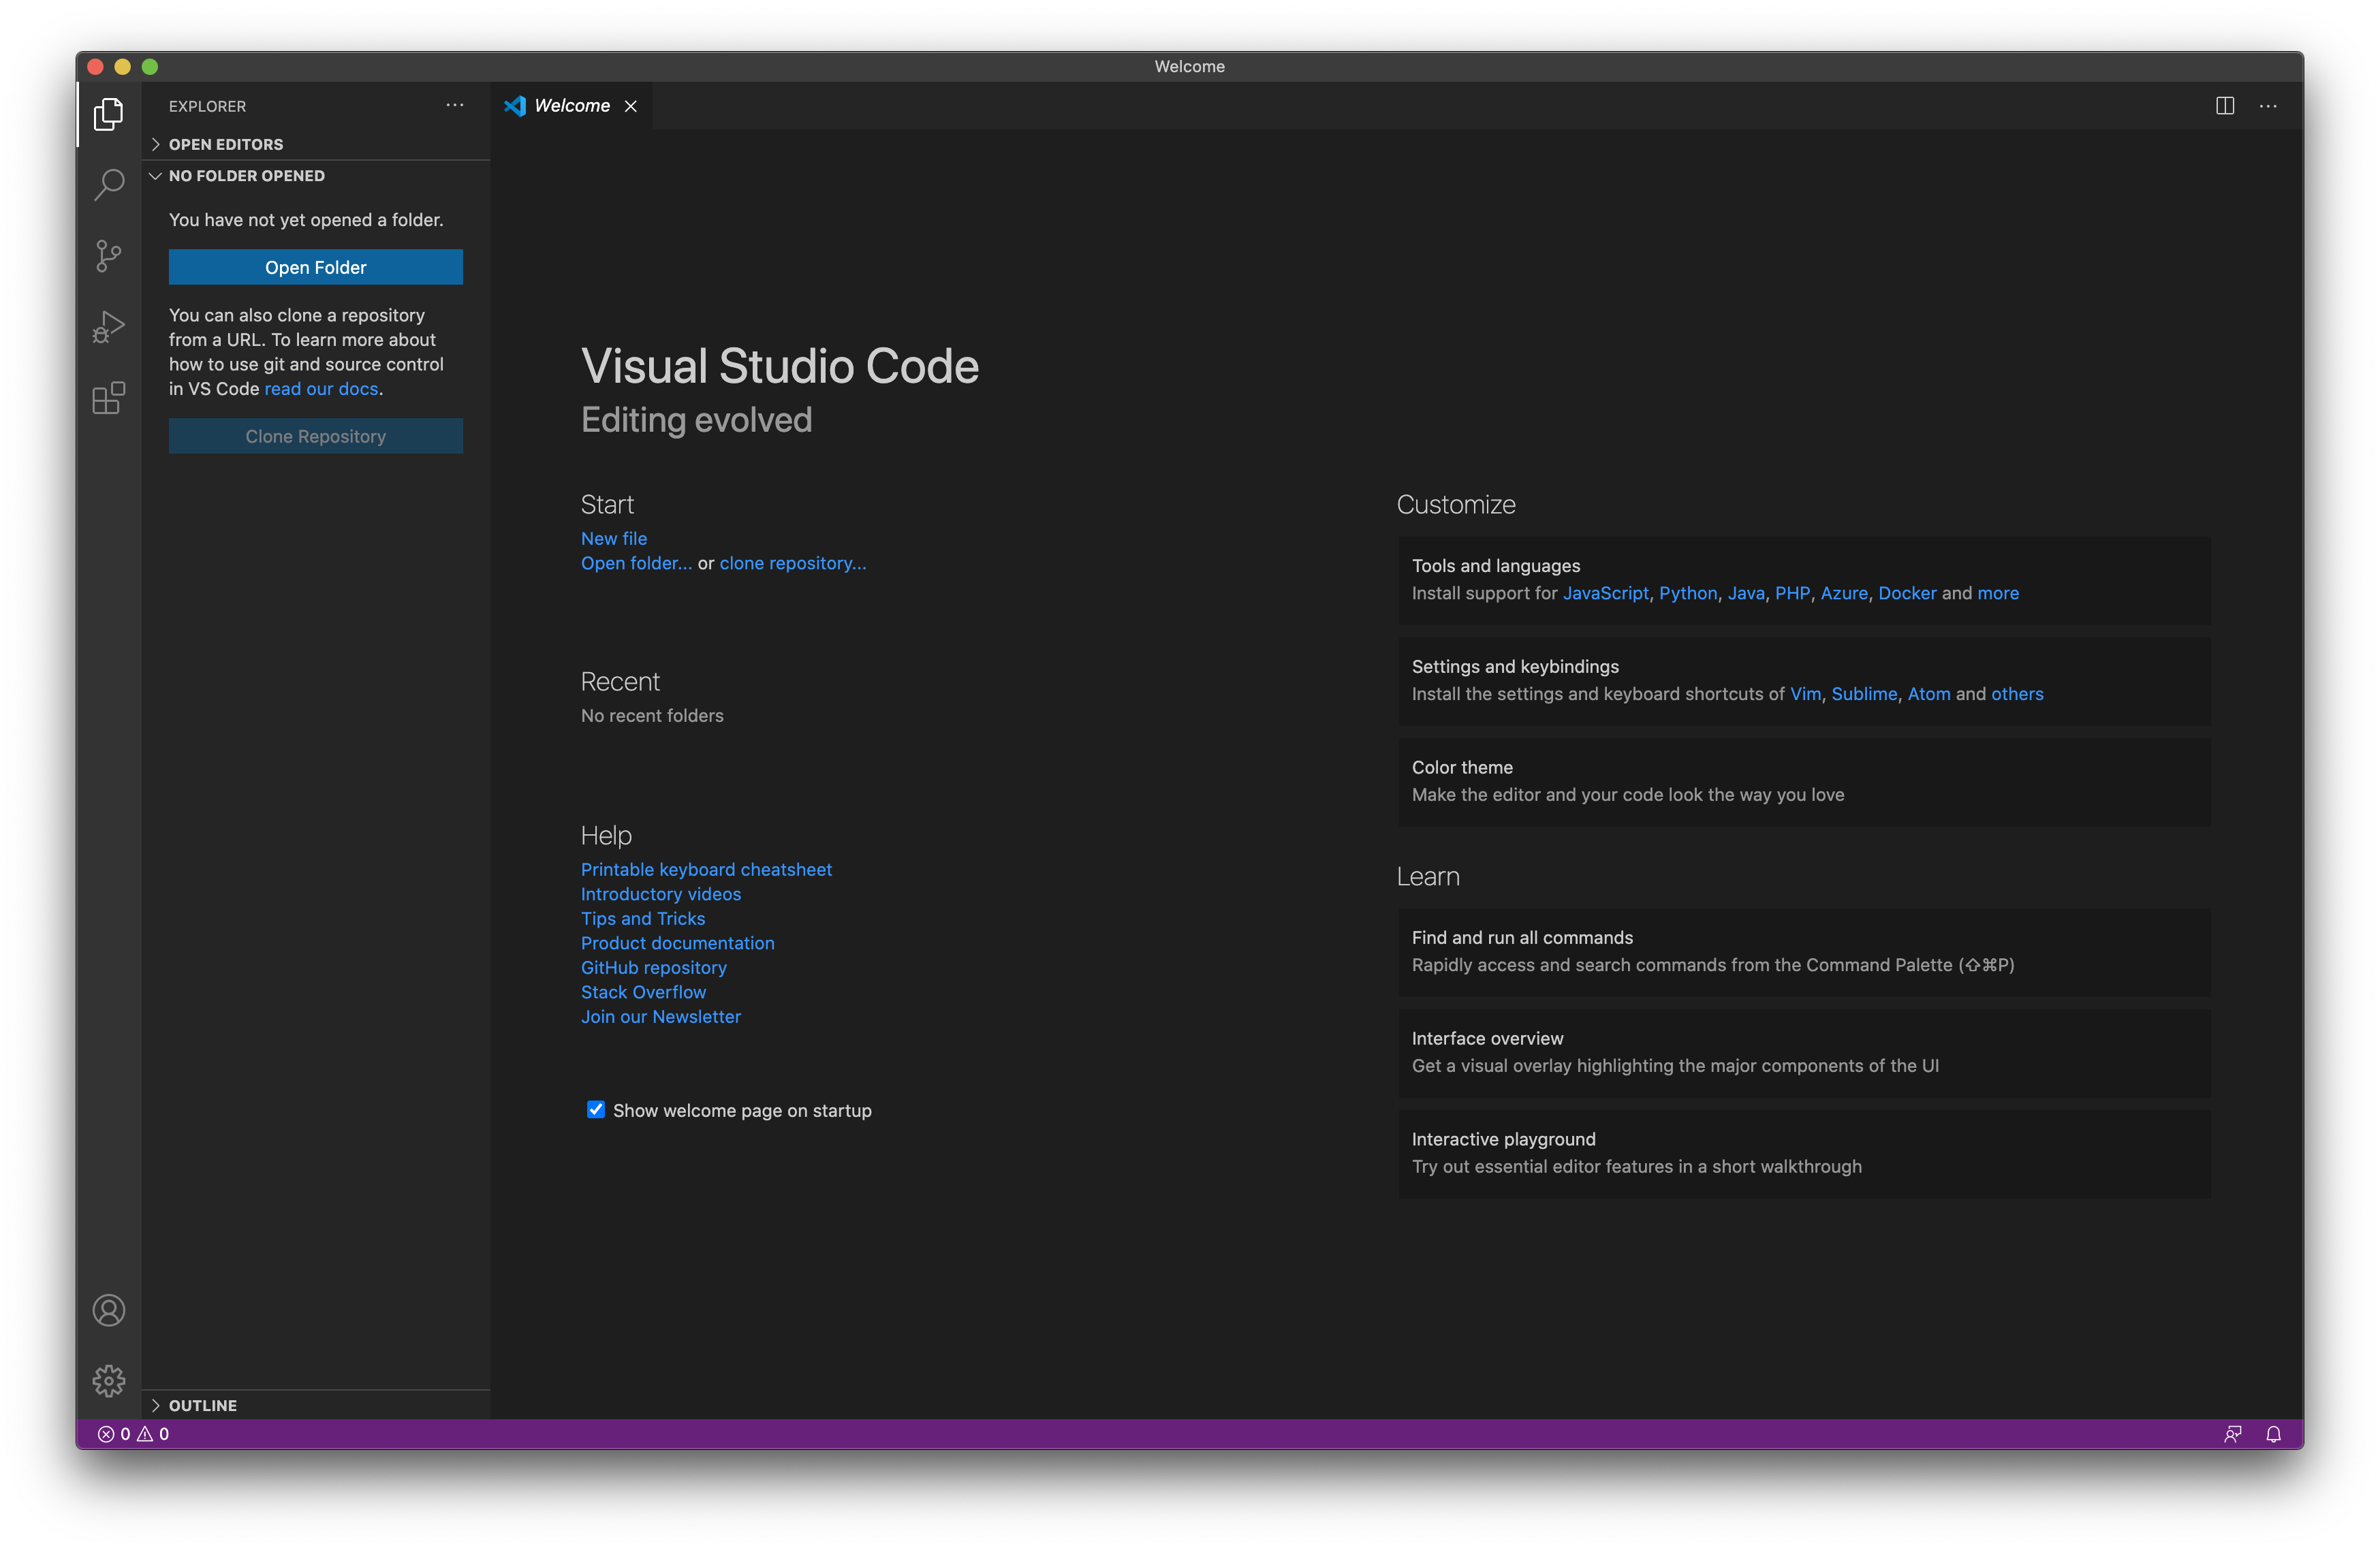
Unzip the downloaded file and double-click Visual Studio Code. The window opens with every menu and label in English.
1. Open Visual Studio Code
Double-click the Visual Studio Code icon. Everything from here happens inside this window.
2. Open the Command Palette
Use View > Command Palette from the menu bar, or press shift + command + P.
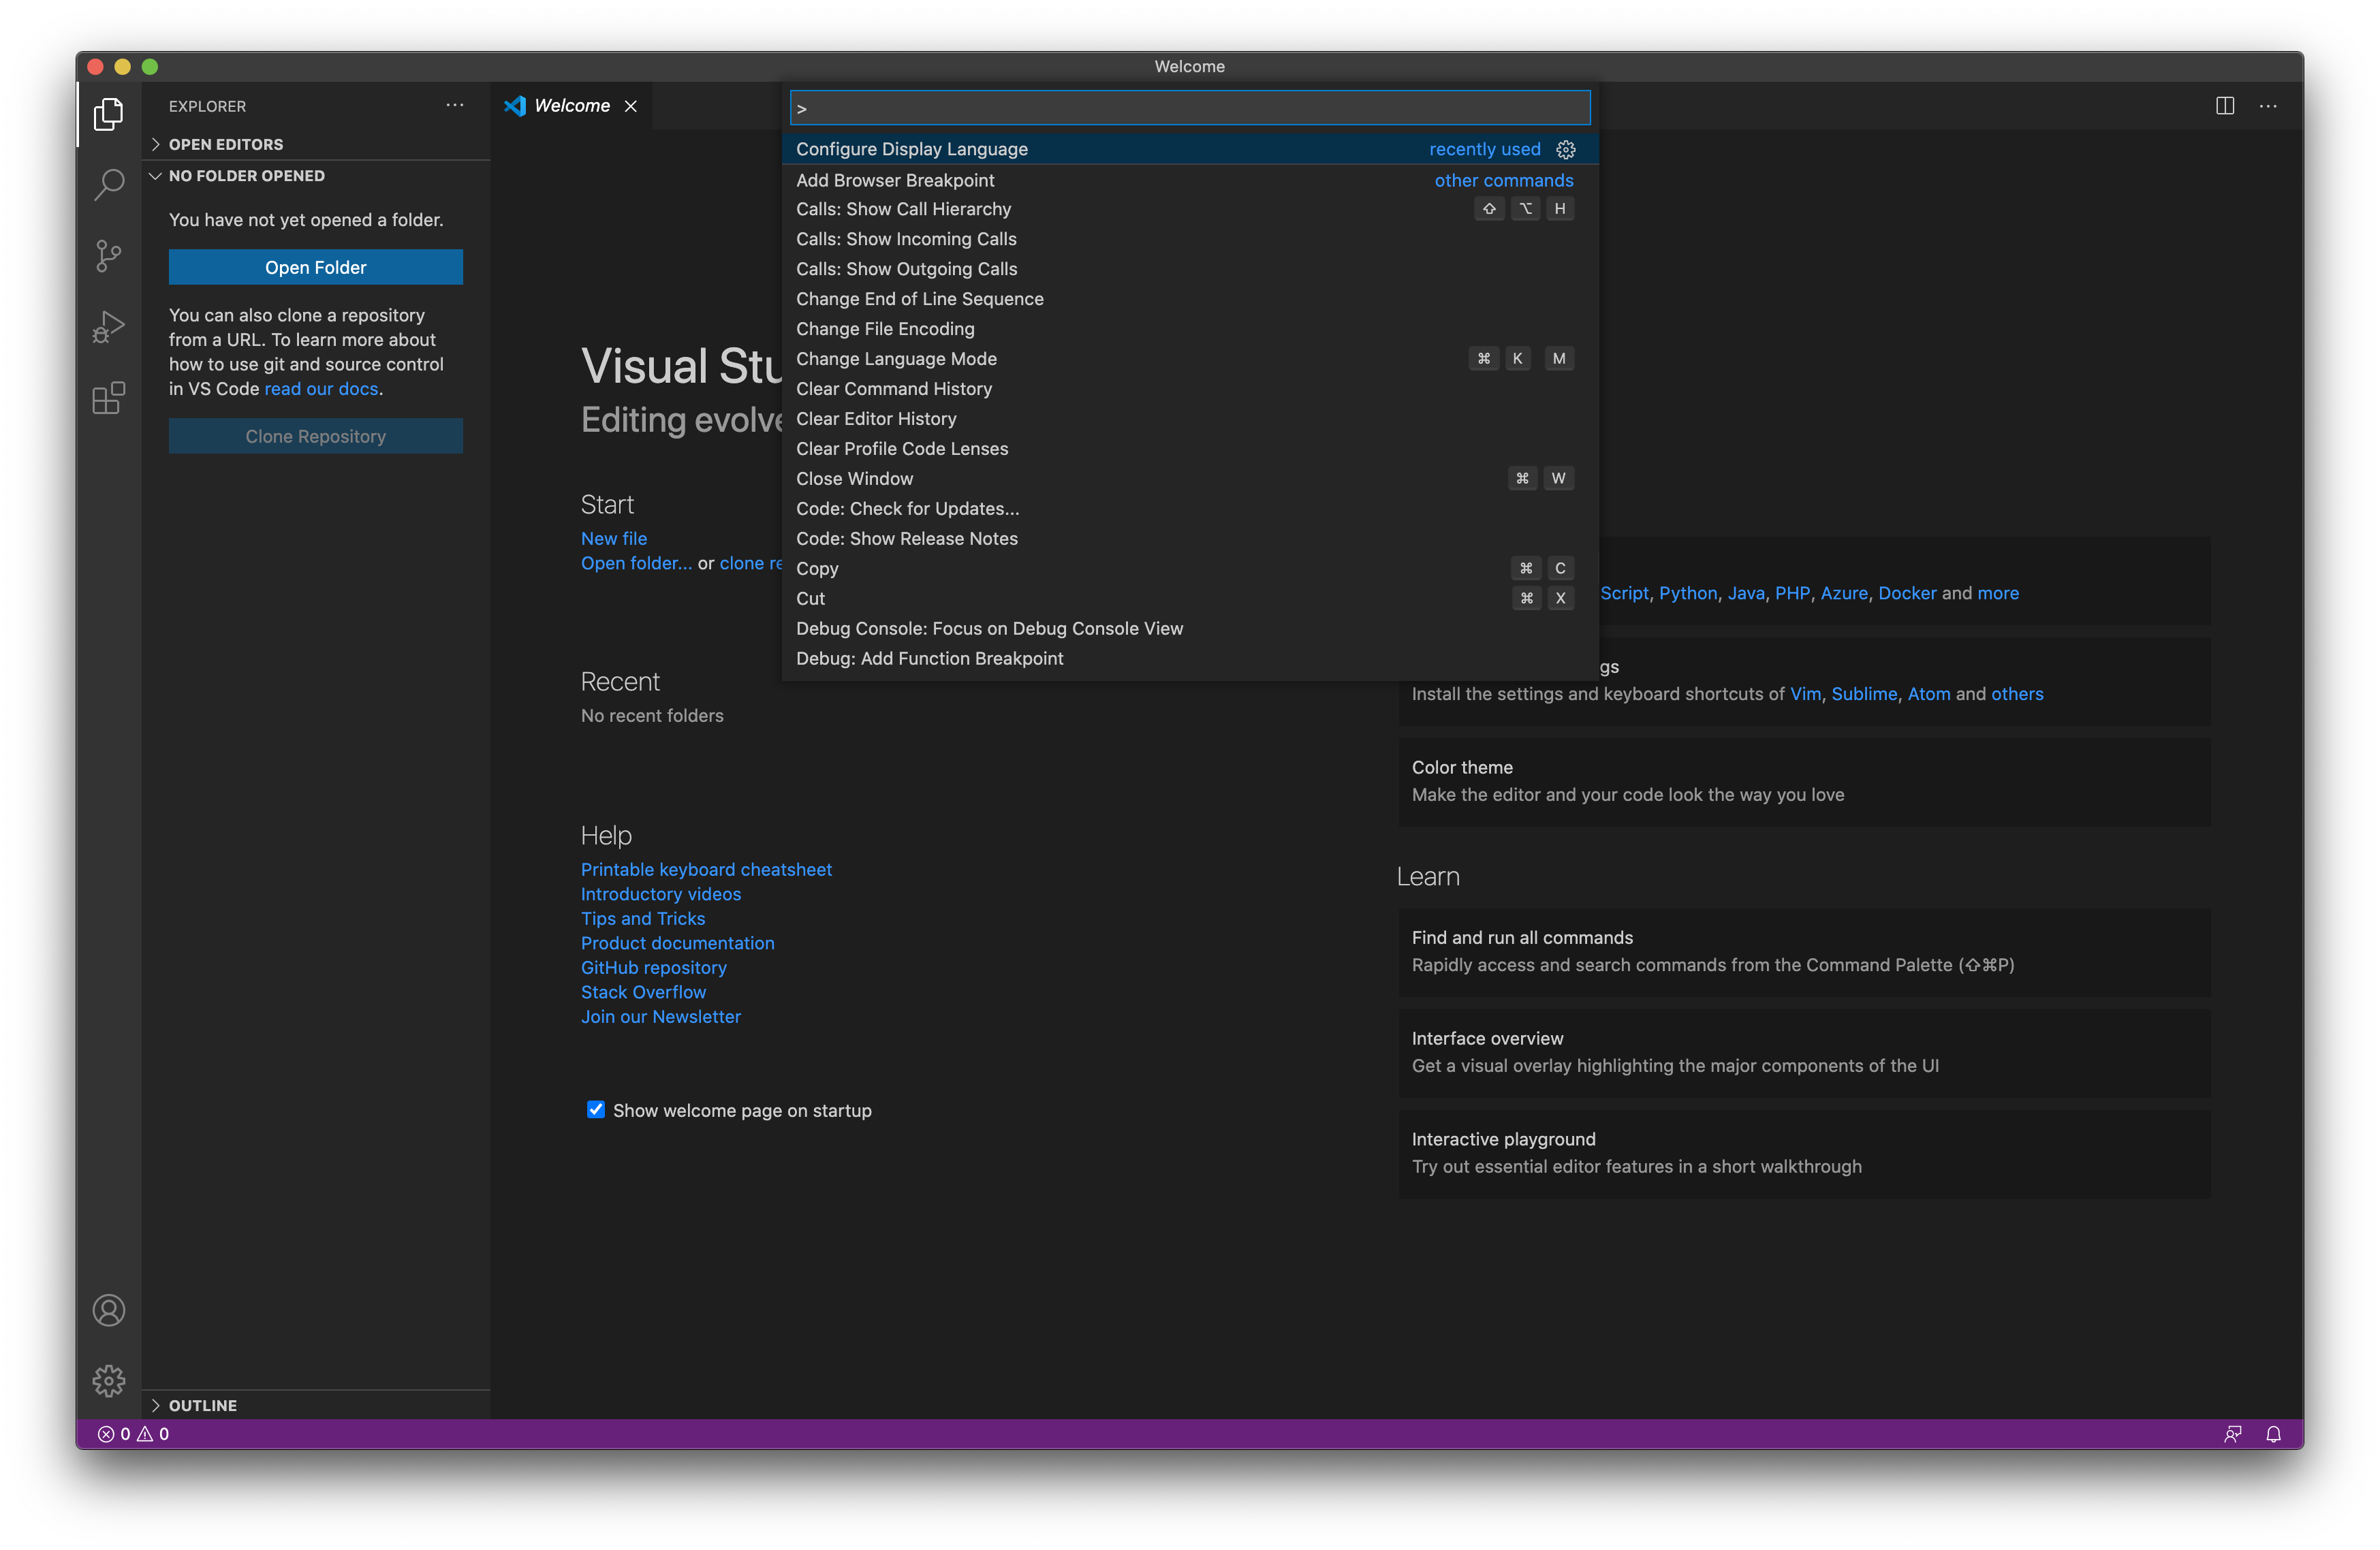
The Command Palette is a search box that reaches every command in VS Code. The language setting lives there rather than in a preferences screen.
3. Run Configure Display Language
Type “display” and the command list narrows down. Select “Configure Display Language”.
You do not have to type the whole command name. A few characters are enough to bring it to the top of the list.
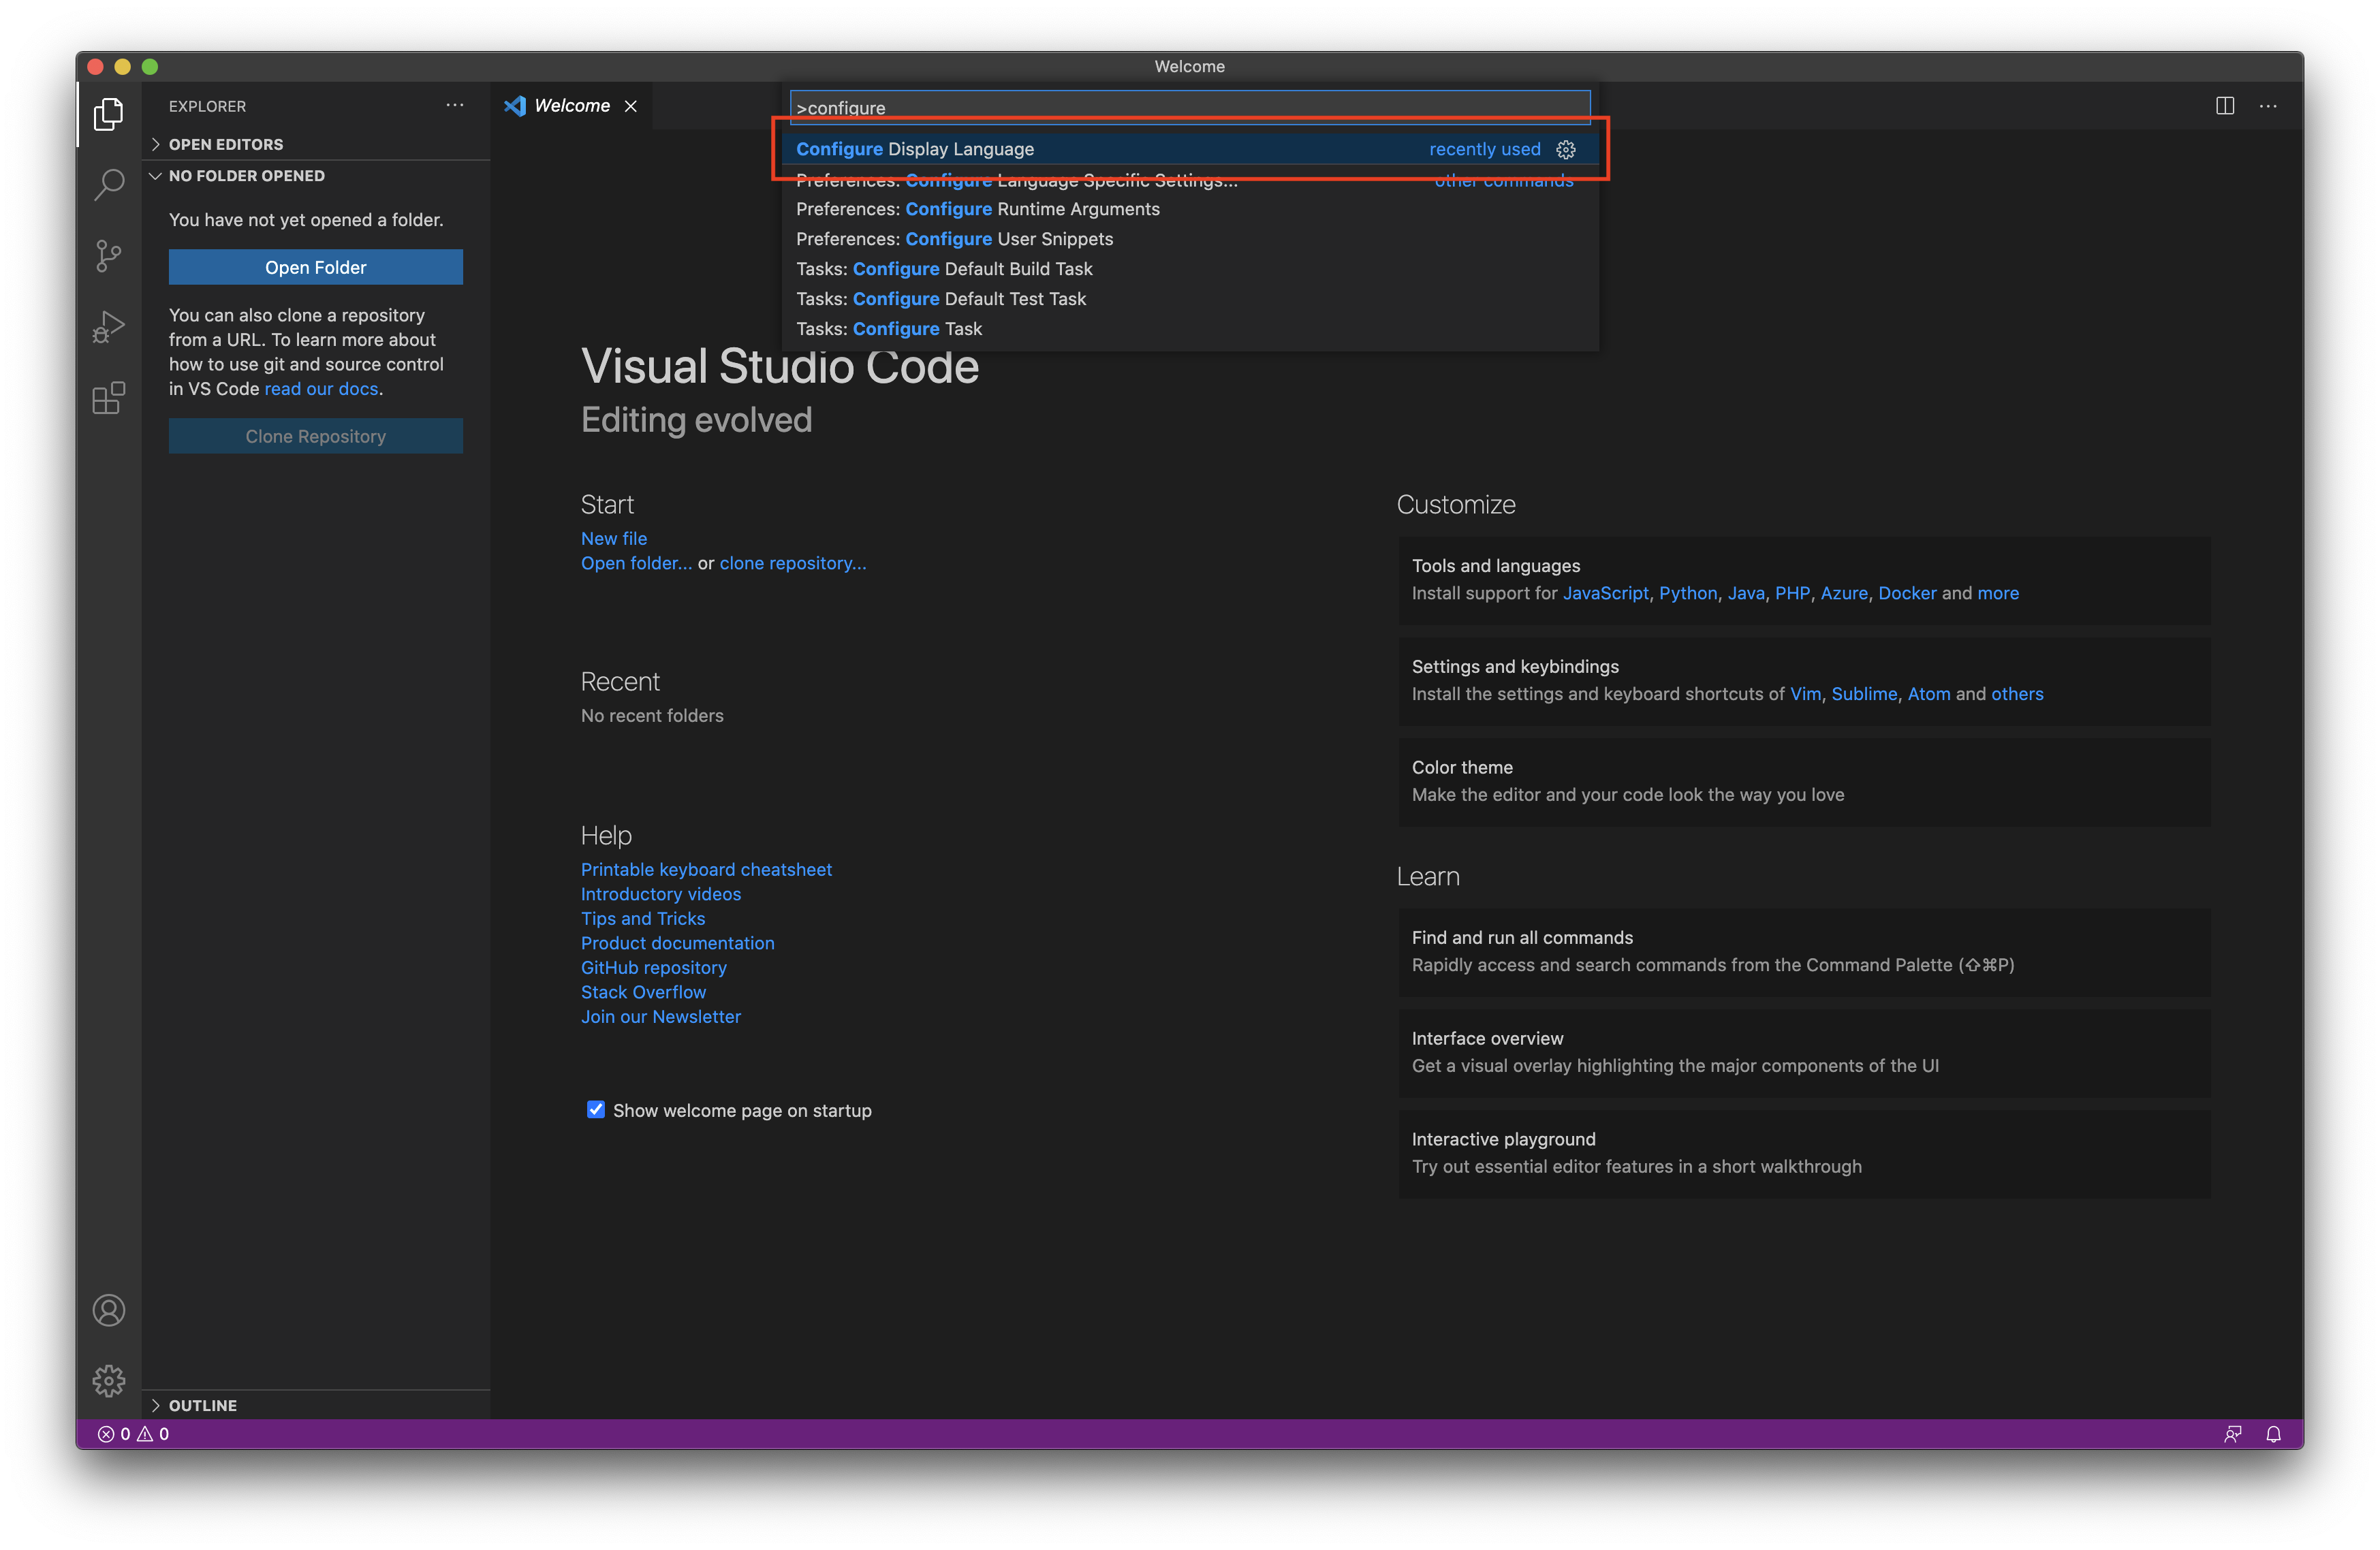
4. Pick Japanese and restart
A list of available locales appears with the active one highlighted. Choose Japanese (ja). If the language pack is not installed yet, VS Code downloads it and then asks you to restart.
Click Restart in the prompt. Quitting and reopening VS Code has the same effect.
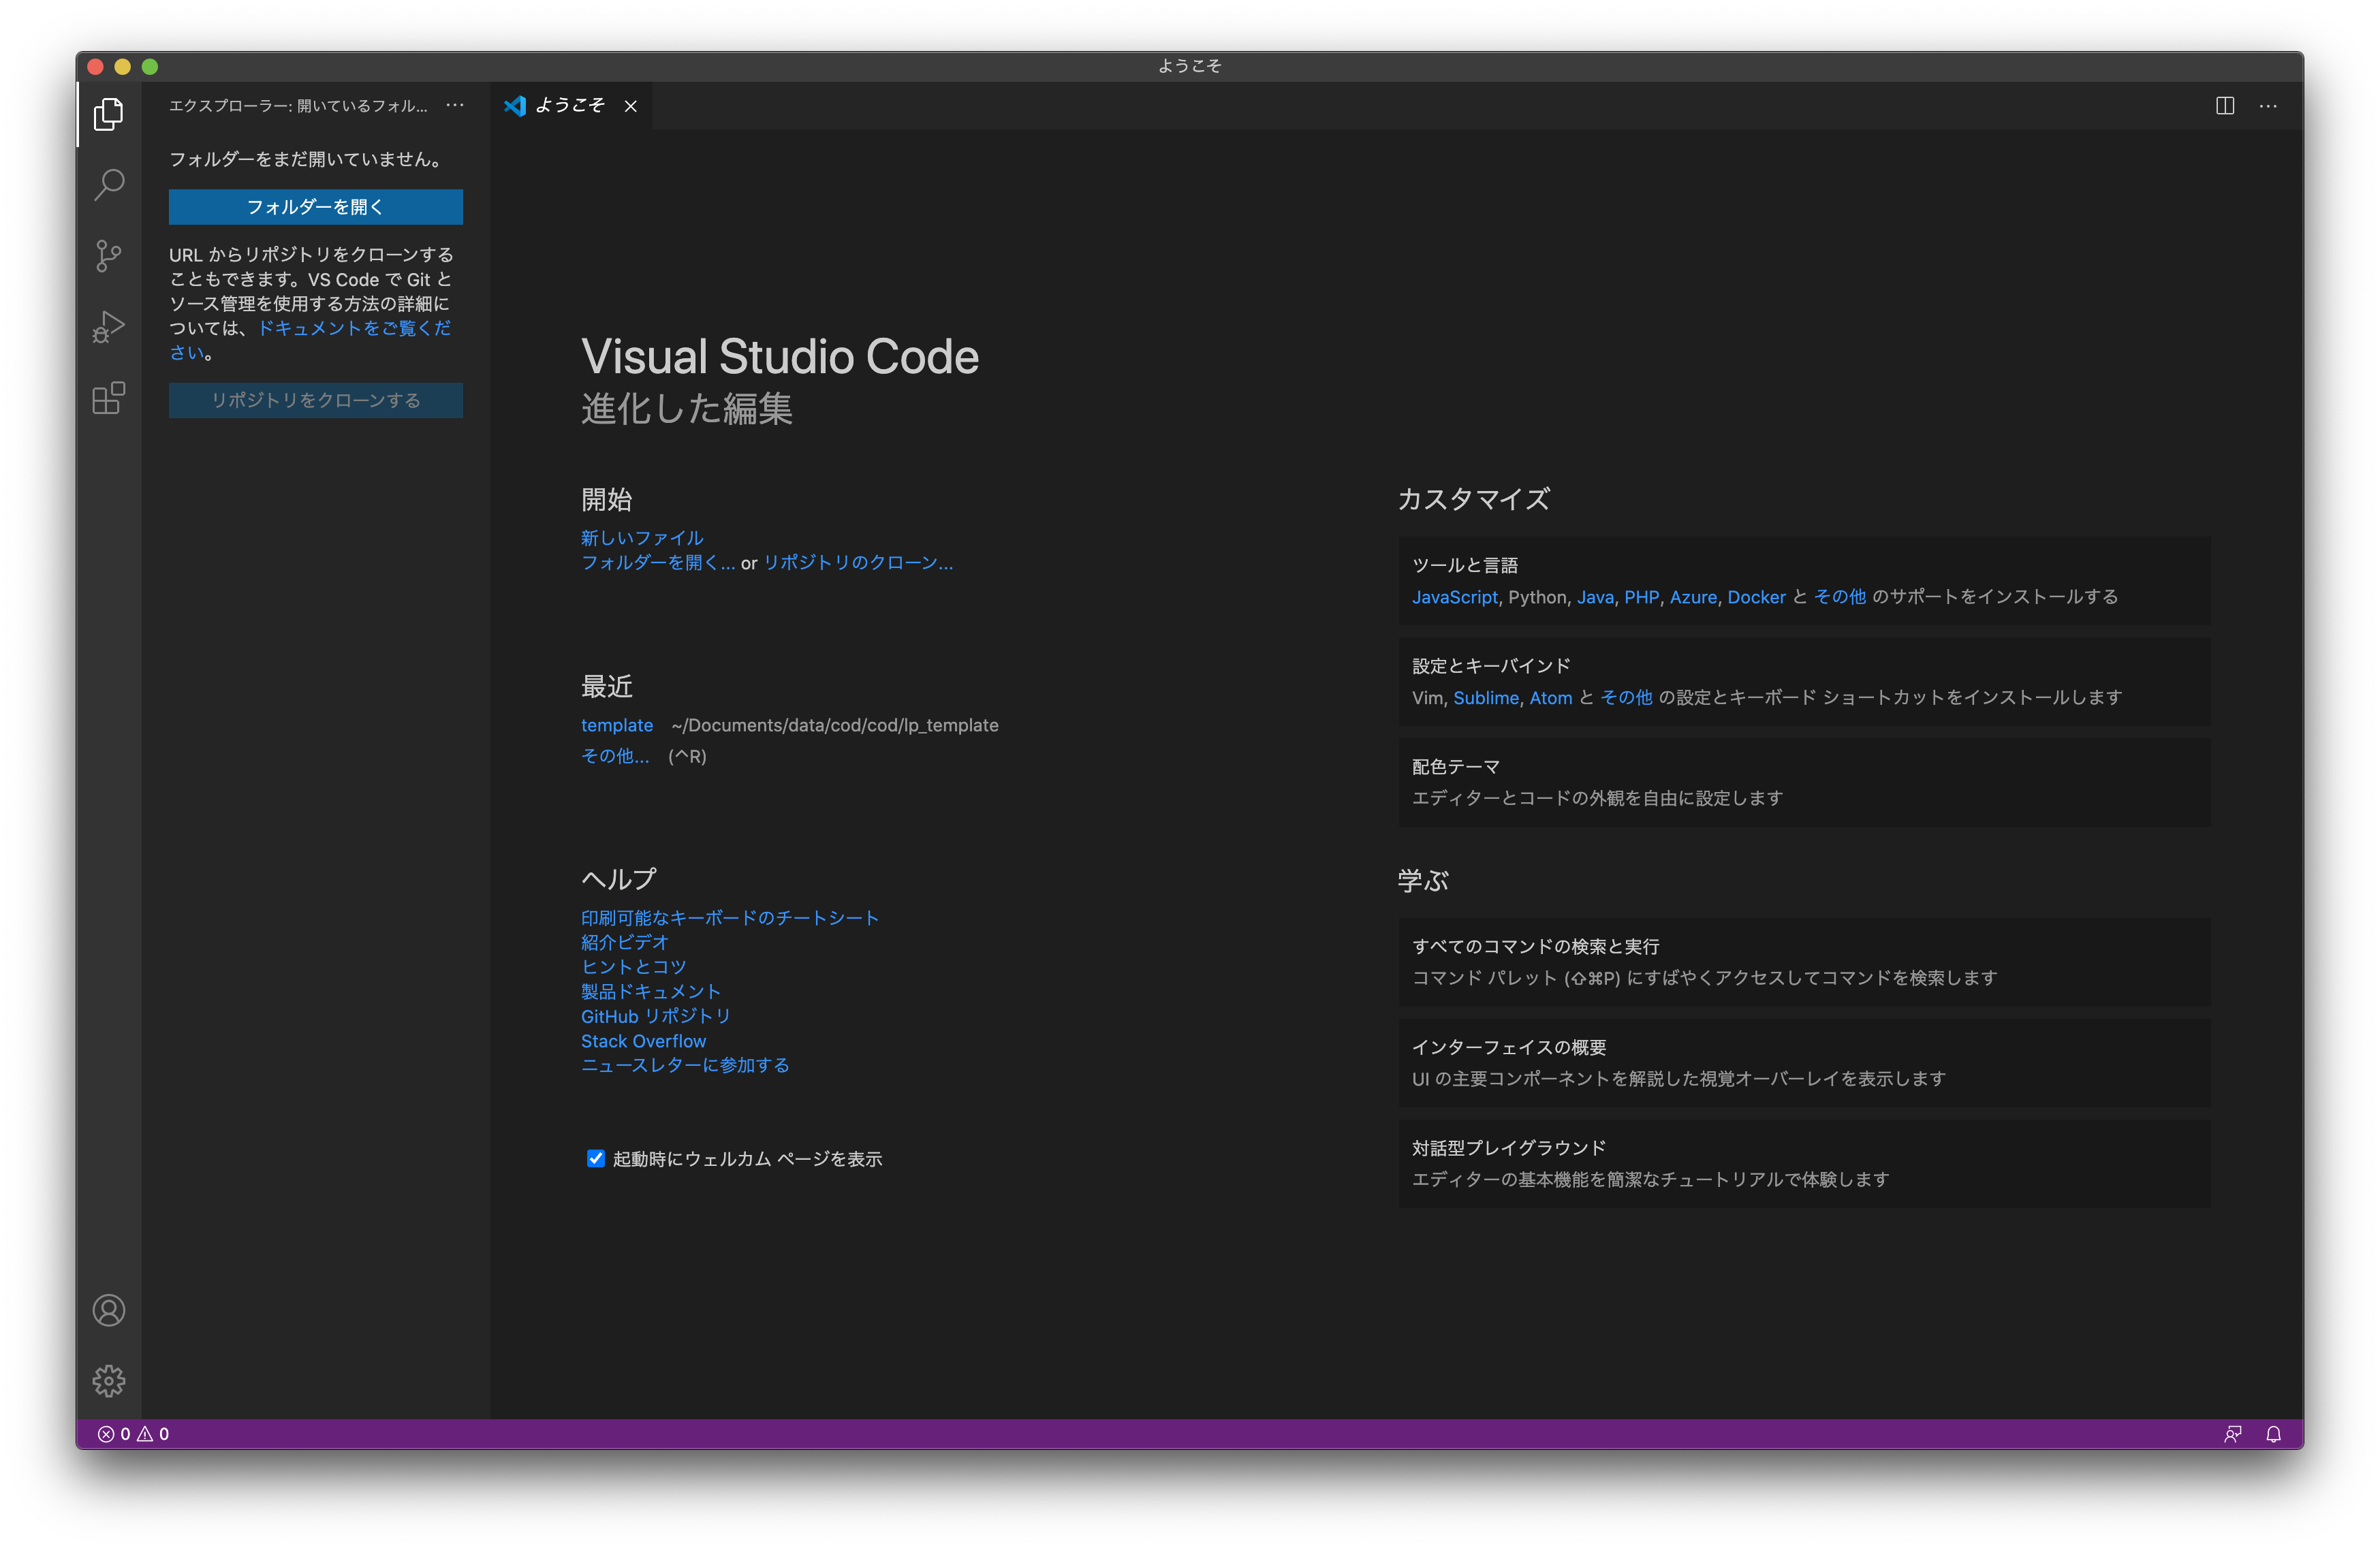
Once the menu bar and sidebar are in Japanese, you are done.
Sponsored
Installing the language pack from the Extensions view
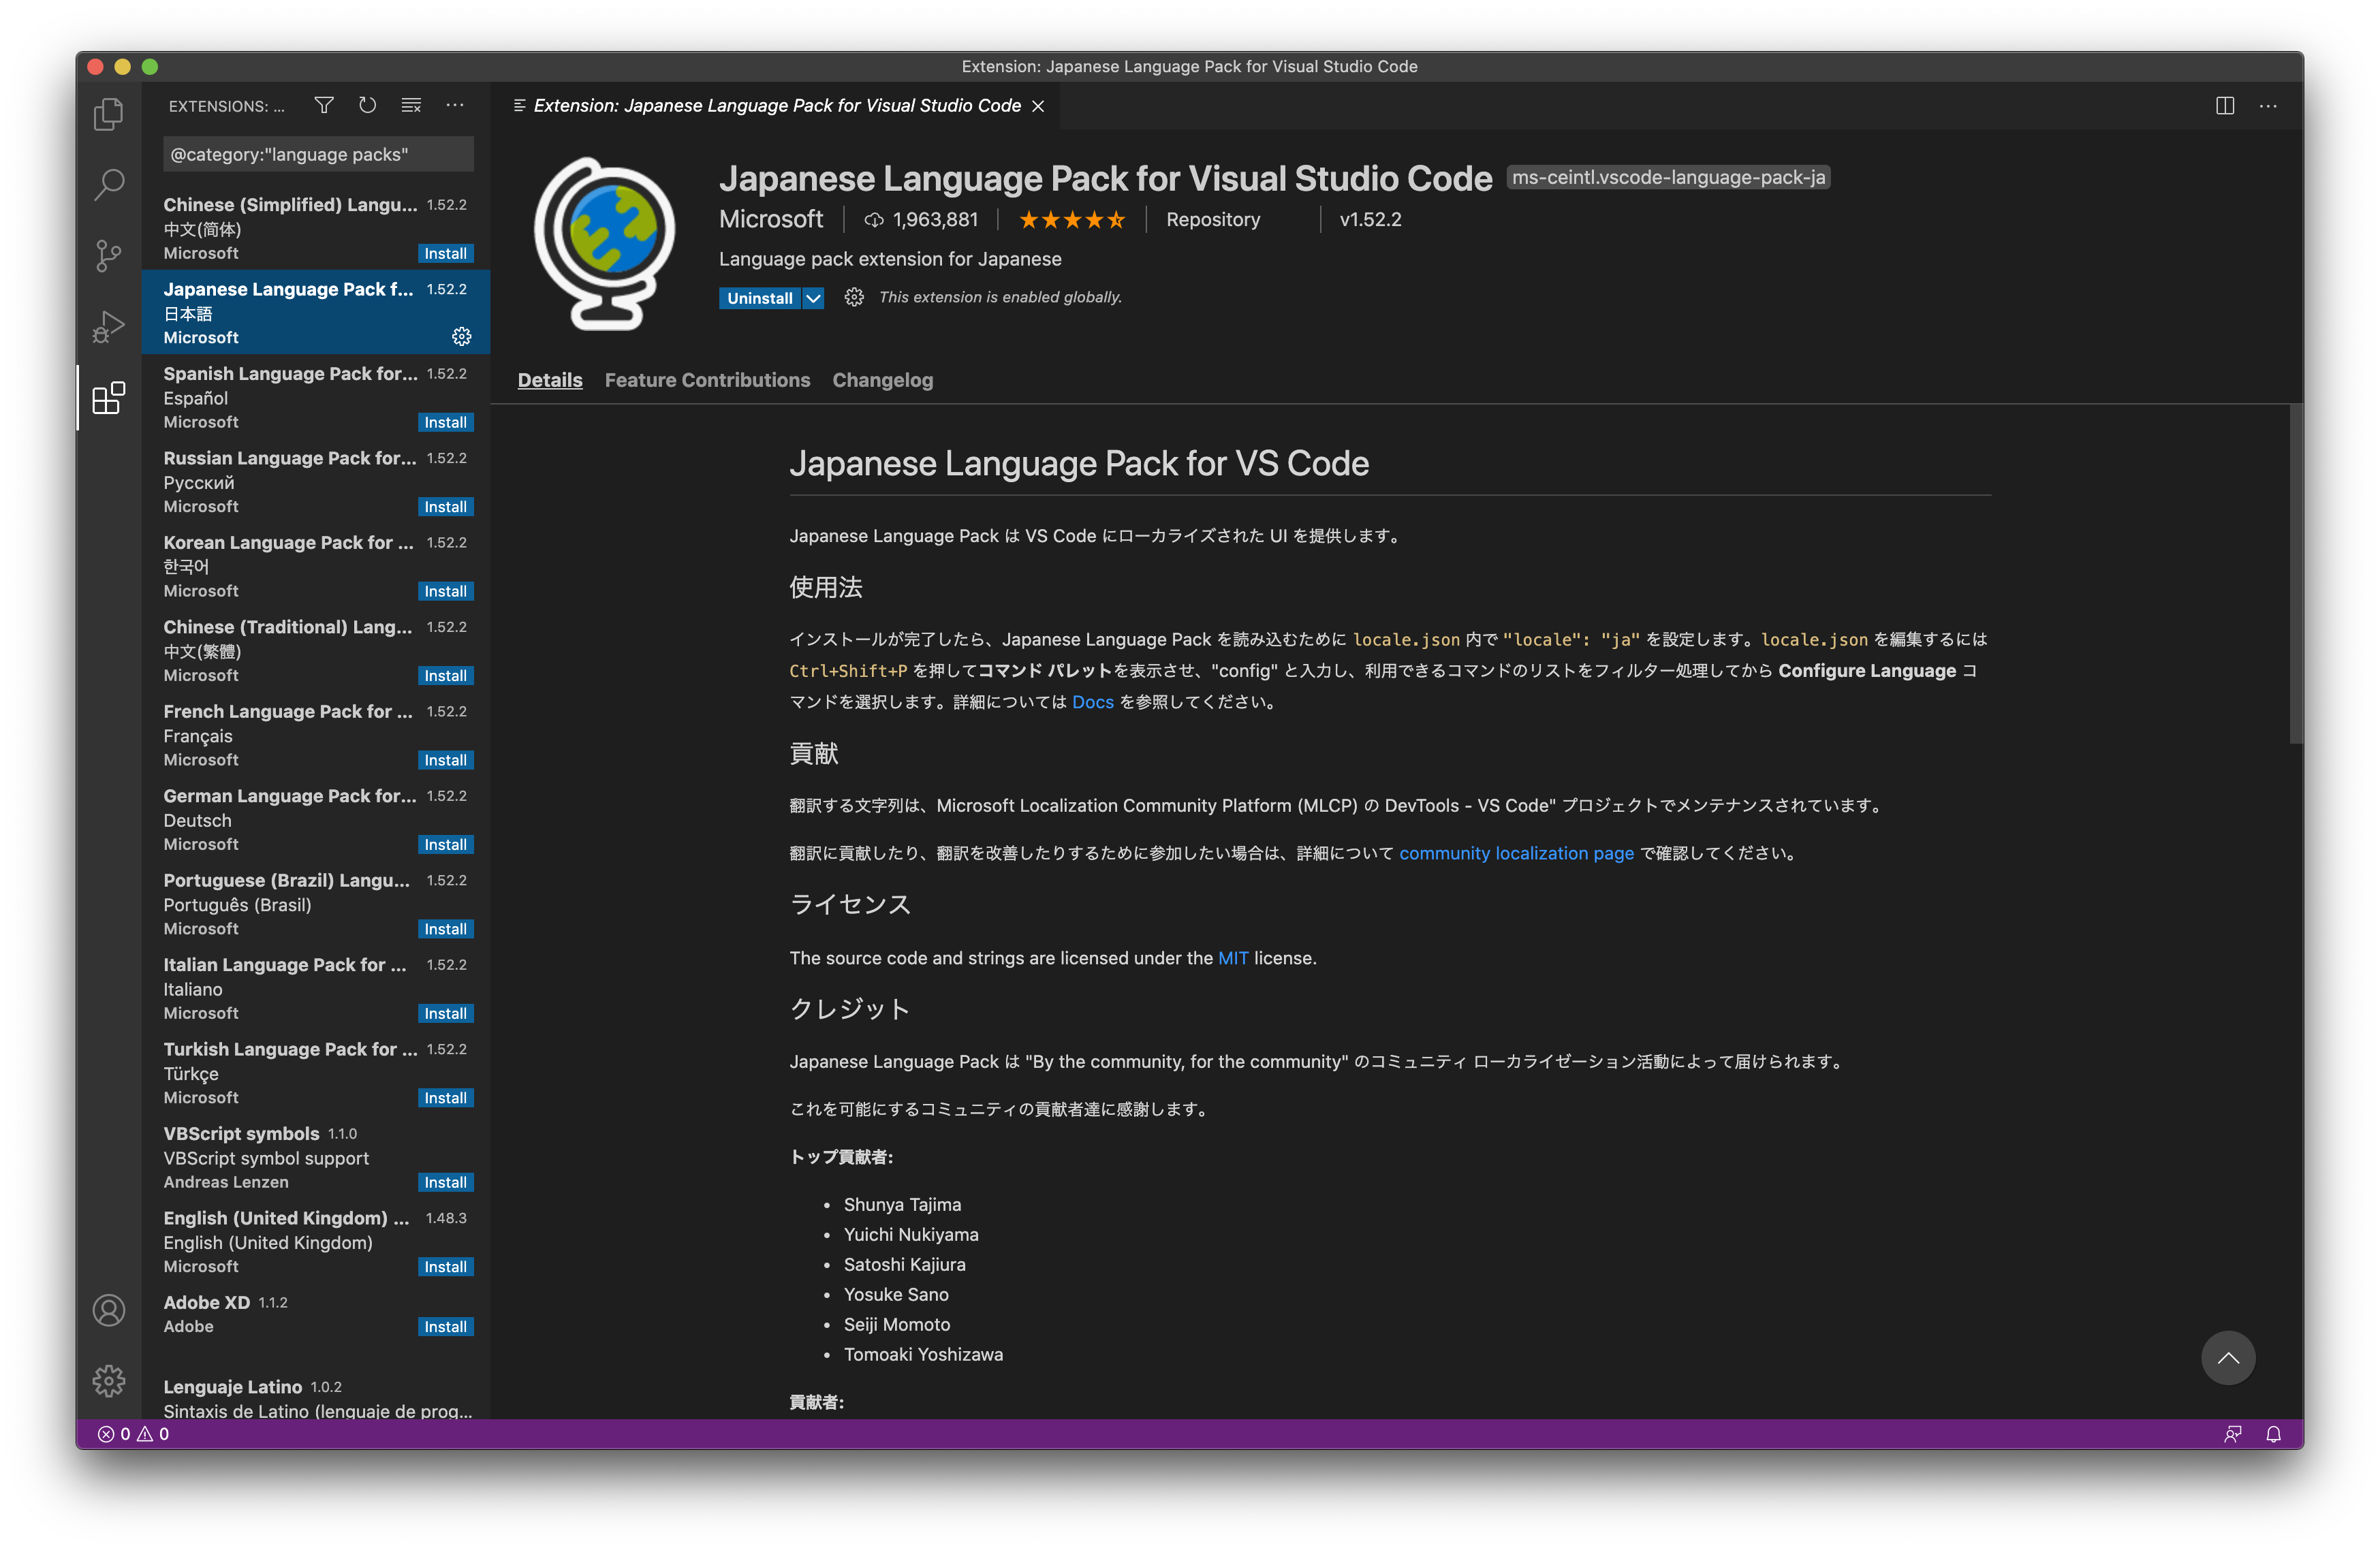
You can also search for “Japanese Language Pack” in the Extensions view and install it directly. The result is identical, so use whichever route you prefer.
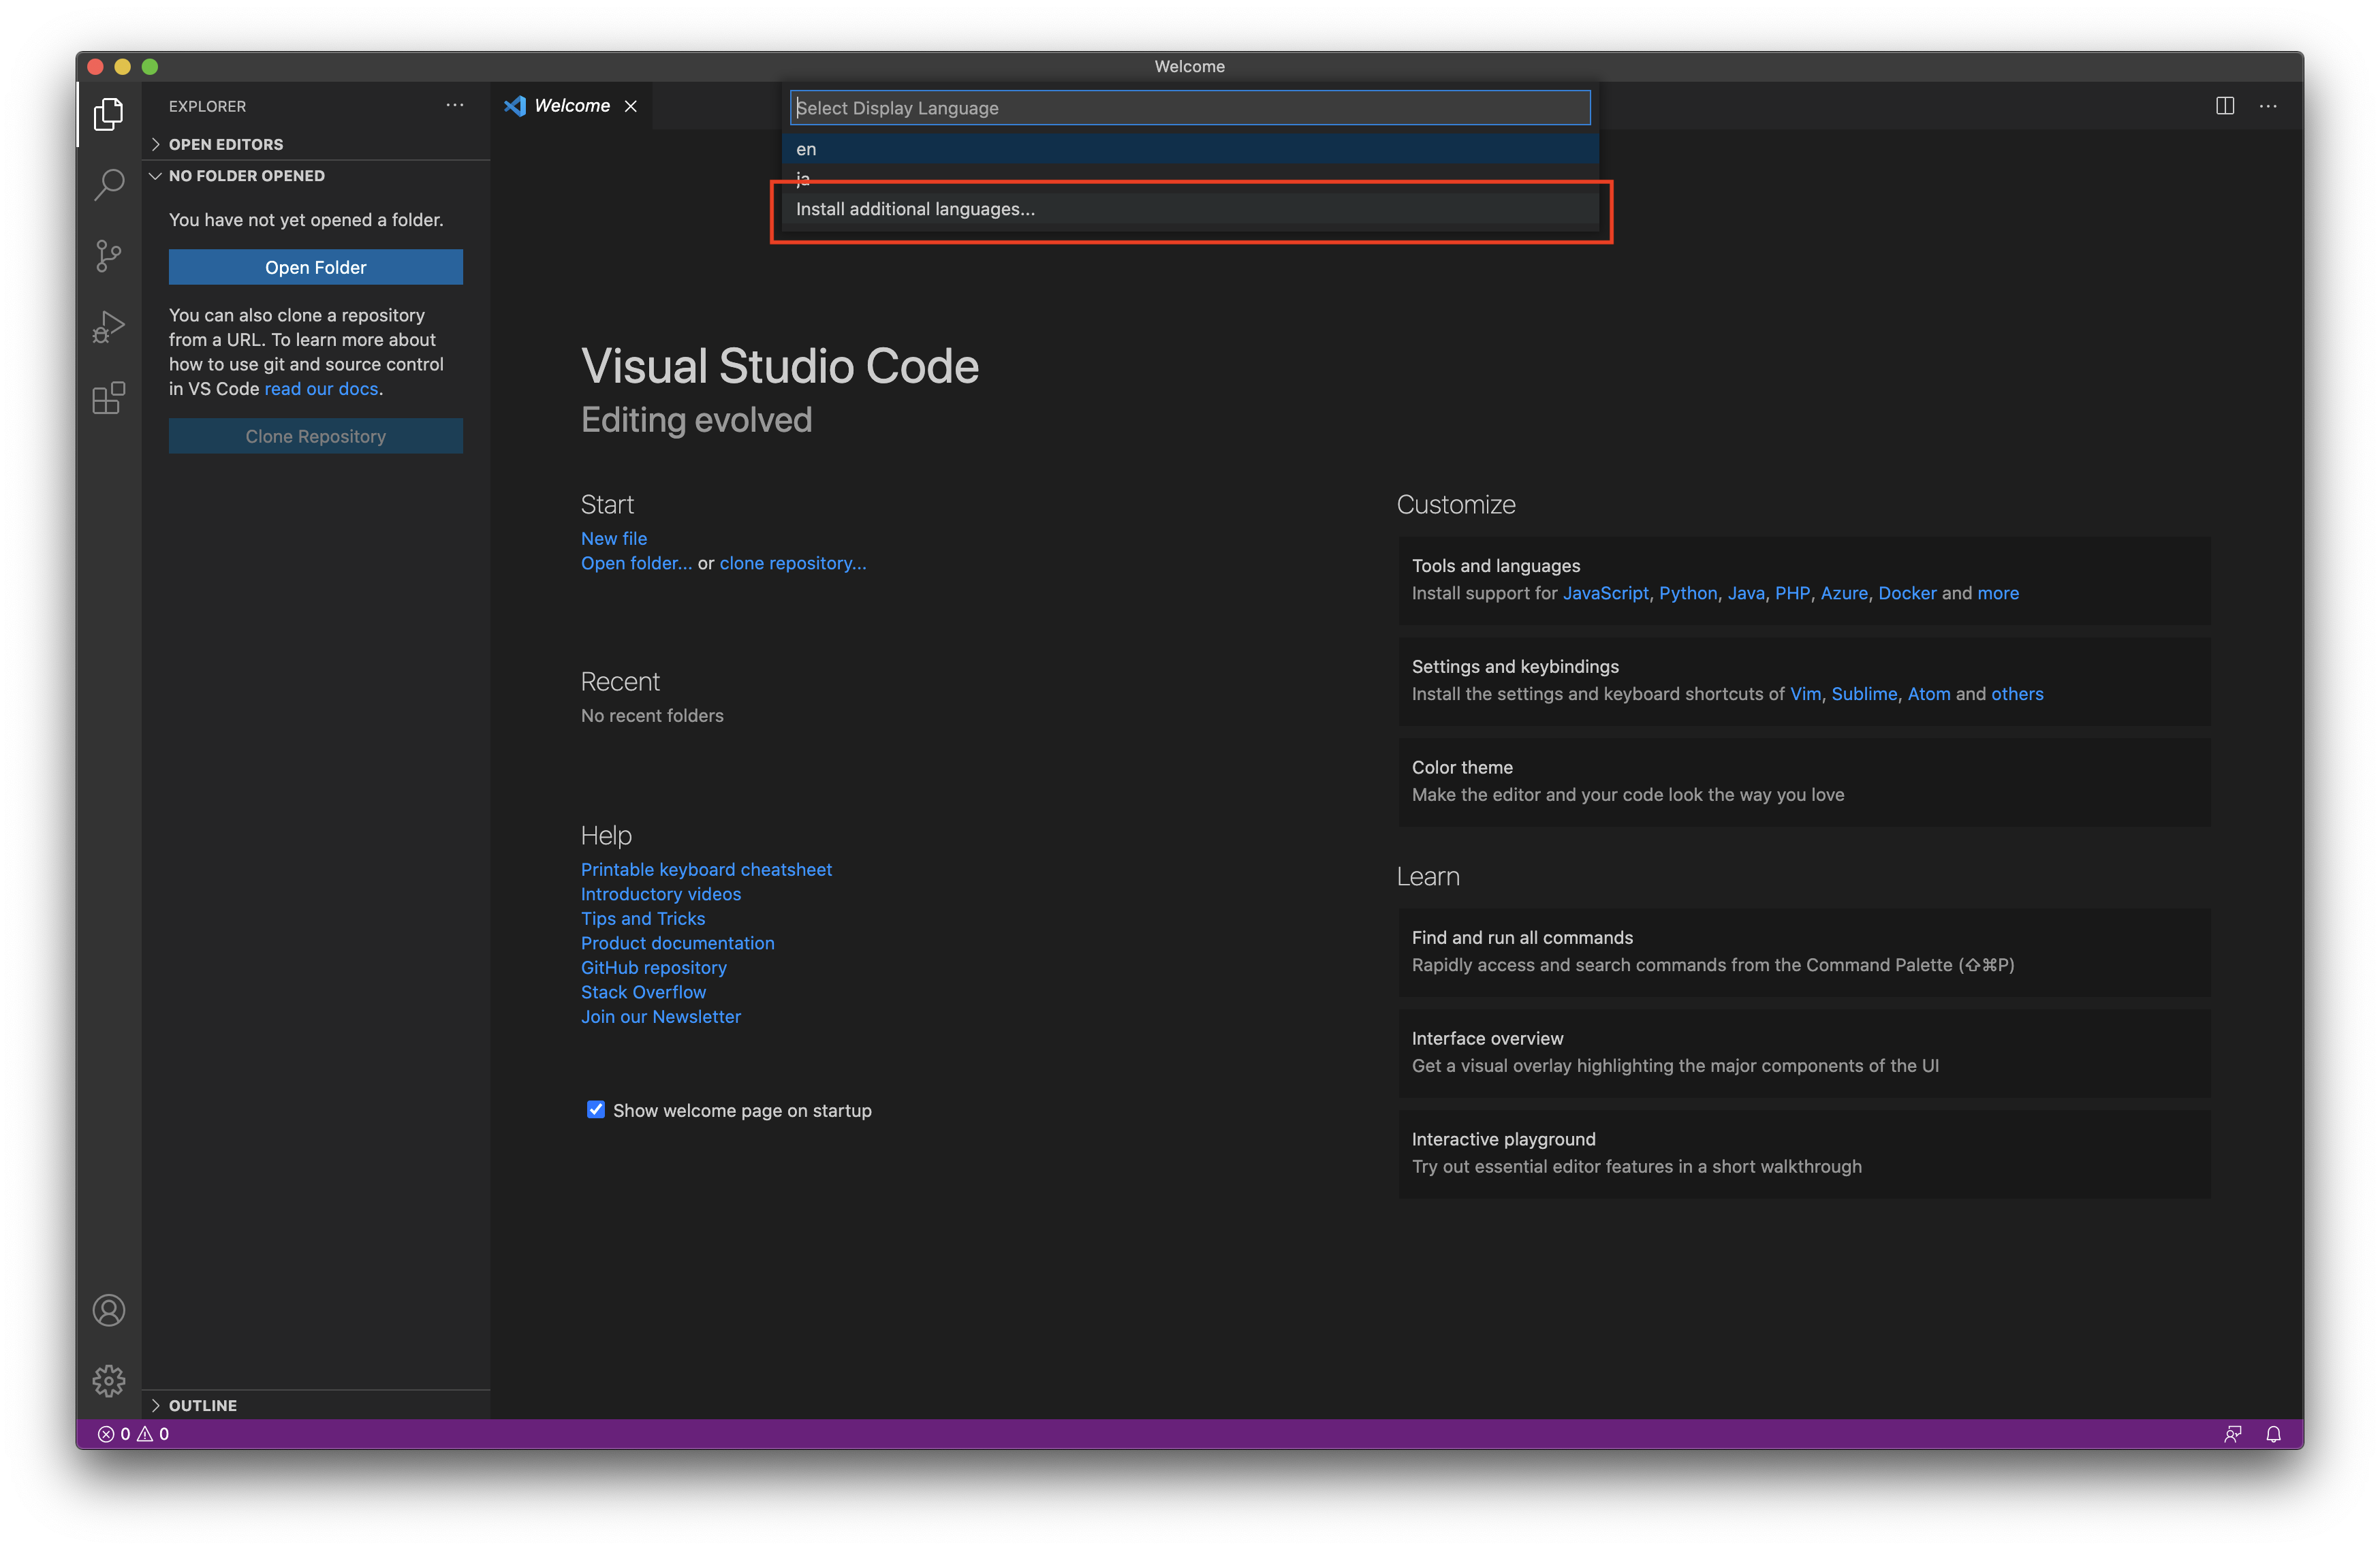
Older versions of VS Code put an extra step in the way: after running “Configure Display Language”, you clicked “Install Additional Languages…” and were taken to the Extensions view. Current versions let you pick straight from the locale list, but the Extensions route still works.
In the Extensions view, select “Japanese Language Pack for Visual Studio Code” and click Install. The publisher is Microsoft (MS-CEINTL) and the extension ID is ms-ceintl.vscode-language-pack-ja. Several unofficial extensions use similar names, so check the publisher before installing.
How to switch back to English
Run “Configure Display Language” again, choose English (en), and restart.
You do not need to uninstall the Japanese language pack. The display language setting and the installed packs are separate things, so you can keep the pack and still run the editor in English.
This matters more than it sounds. Error messages are far easier to search for in English — a Japanese error string often returns almost nothing, while the English original returns the GitHub issue that explains it. Switching takes two steps, so it is reasonable to move back and forth depending on what you are doing.
What to set up after switching languages
Changing the language is the easy part. Extensions and key bindings are where the real speed comes from.
VS Code is usable out of the box, but if you write code in it every day it is worth shaping it around your work. Which extensions still earn their place — and which have been absorbed into the editor itself — is covered in the seven VS Code extensions worth installing.
If you came from Vim and miss modal editing, using Vim inside VS Code walks through the VSCodeVim extension, which reproduces normal and insert modes without giving up the editor’s own features.
To match your terminal to your editor, setting up the Mac terminal with Iceberg and Prezto covers the colour scheme and prompt. Keeping both consistent reduces the friction of moving between them.